Icon-A-Day 2.0, Day 10, You got Videos in my Pictures Folder!

Friday, August 15, 2008 by mormegil | Discussion: OS Customization

Yesterday we created the first of our User folders, the Favorites folder. In doing so we established the style we will be using for the rest of them. Today we will move from that one to another of the simpler examples, the Pictures folder.


Day 10
(Friday, August 15th, 2008) Line

IAD_10_Pictures_FoldersThe Pictures Folder
The Pictures folder remains more or less the same in Vista as it was in XP, or even 9x. However like the rest of the User folders, it has been taken out of the Documents folder, and moved into the User folder.

In the Windows Vista Pictures folder icon, Microsoft has also finally acknowledged that just about every digital camera also shoots video, and that despite their efforts, most people will not move the resulting videos into the Videos folder. This is something we will do as well, even though it will be the most time consuming portion of our Pictures folder.

Step 1:   
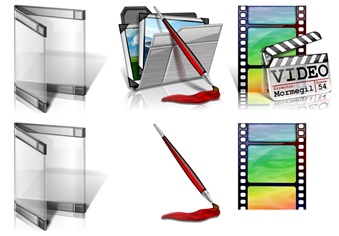
Again we will start with our Wrapper folder from day 8.  I will also grab the original 1.0 My Pictures folder #25, and the Video Clip file # 54.

Once I have these elements gathered together, I delete the elements I don't need. 


IAD_10_S1  
   

Step 2:  
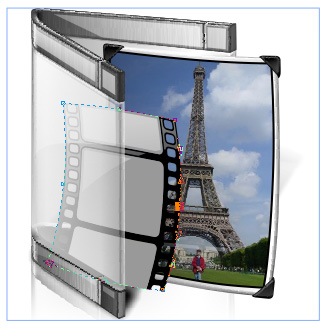
Now, I have chosen to create a brand-new photo rather than attempt to use one of our existing items. This is because I want something a bit higher resolution, and I want to be able to do a nice perspective.  

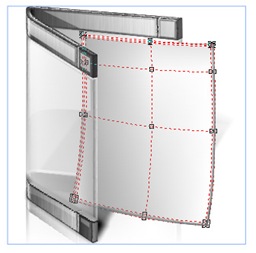
So the first thing I do is use a Mesh Rectangle to draw in the basic shape of my new image. Once I have this I create some additional mesh nodes to give it some depth and definition.
IAD_10_S2  

Step 3: 
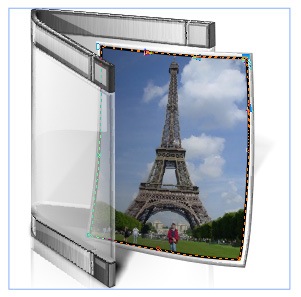
Next I import in my new picture, and using the Bitmap 3D Effects Perspective tool, I give it a bit of perspective to make sure it fits. Then I crop it down to fit on my photo back. 

I also want their to be a black outline around the image, so using the Bezier tool I draw a matching rectangle behind it. 
  IAD_10_S3

Step 4:  
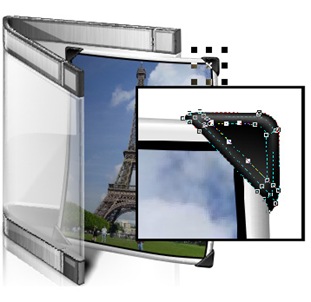
I know it is a bit old fashion, but to make sure that our new Photo matches our originals, I want to go through and add some corner clips.

I do this with four small mesh fill objects. You could probably do this just as well with some basic shapes, but I am partial to the Mesh tool. 

IAD_10_S4

 Step 5: 
We still need to add gloss to our photo, but we will do it later. For now we will move on to our Video file. 

We will want to change the content of the frames of our video file, so I remove the texture fill we have now. Then I group the file together and with the Envelope tool, and give it a bit more of a film-like look.   

IAD_10_S5

Step 6: 
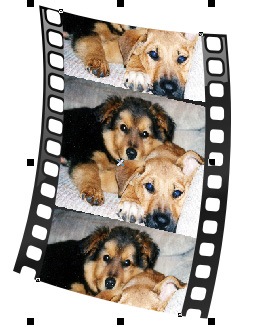
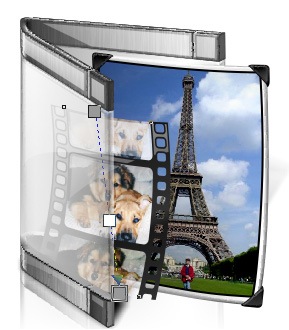
Now that we have our film in place, I want to change the image on the film like I did the photo, so I import in another image. I place this behind the cells of our film, and crop it and skew it until it looks ok.

Then I do this again for the top and bottom frames.  


IAD_10_S7

Step 8: 
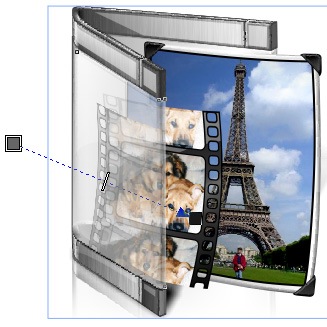
Now I grab all three of these images and convert them to one bitmap. Once this is done, I use the Interactive Transparency tool to give the images some translucency.


IAD_10_S6

Step 9:
Now, like yesterday, we will need make copies of our new assets and convert them to bitmaps for the reflection on the Wrapper. Once I have these in place, I convert them both into a singe bitmap, and crop them.

Finally I fade them out with the Interactive Transparency tool.

IAD_10_S8

Step 10:
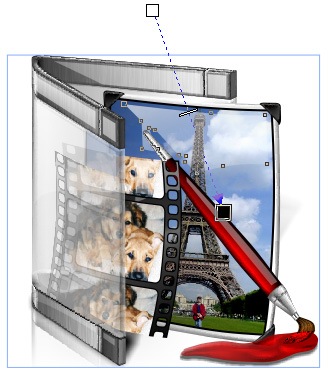
Now we can finally move our paint brush back into the composition. With a bit of tweaking with the shape tool it seems to fit right in.


IAD_10_S10

Step 11:
Now that we have all of our assets in place, we need to go through and touch up our gloss. This is relatively simple, but is very important in giving the icon continuity within the set.IAD_10_S11

Step 12: 
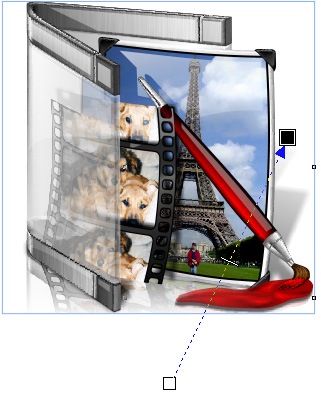
Our lasts two steps, as usual, are to create the shadows and reflections. 
Don't forget that you can learn more about this over at my CorelDRAW for Skinners tutorials.

IAD_10_12

Finished Icon: 
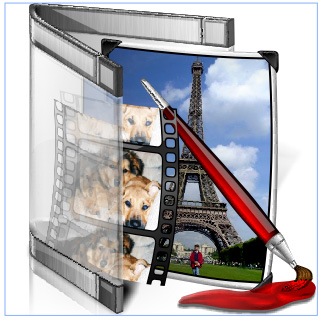
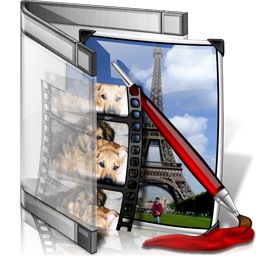
Our finished Pictures folder looks pretty good, even if that silly film strip would not leave us alone.


IAD_10_13

Wrap Up:
This brings us to the end of Week 2 of the Icon-A-Day 2.0 tutorials. So far I am very happy with how it is going, however I would love to hear back from those of you who are following along. Let me know what techniques you would like me to go into in more detail, or even things you would like me to skip.

I will be back next week, and we will continue our way through the User folders.

About Me:
You can find all my skins, tutorials, and articles, on my Wincustomize Homepage, at http:\\mormegil.Wincustomize.com. Questions on icon use and techniques, can be emailed to mormegil@gmail.com. Twitter users can find me with the user name: Mormegil.

Download Pictures Folder Icon: 
Get today's icon from the Miscellaneous Icons Library.

Find all the Icon-A-Day tutorials, and links to the icons and more at the Icon-A-Day 2.0 Index.
All Icon-A-Day artwork, copy, and icons, are copyrighted by Paul Boyer © 2008, and may not be used with out express permission.

Bichur
Reply #1 Saturday, August 16, 2008 1:02 AM
These are most excellent
RomanDA
Reply #2 Saturday, August 16, 2008 10:03 AM
love this... your amazing!
Finhbar
Reply #3 Saturday, August 16, 2008 10:26 AM
This is an excellent series Morgemil, though I could be biased cos I'm learning my way around CorelDraw X4 at the same time, (also following these tutorials to create a parallel set with my own graphics, using Photoshop CS3). Many thanks from this VERY happy member    Regards, Peter
DarkDragonAn
Reply #4 Sunday, August 17, 2008 10:42 AM
This gret tutorial, but you should make a video tutotial too.
mormegil
Reply #5 Sunday, August 17, 2008 12:02 PM
I would like to do some video, with or insted of the pictures, but I dont know if I could make them short enough. I will look into it more.

You can see the CorelDRAW for skinners videos here. http://mormegil.wincustomize.com/Articles.aspx?SID=83&AID=64354

Please login to comment and/or vote for this skin.

Welcome Guest! Please take the time to register with us.
There are many great features available to you once you register, including:

  • Richer content, access to many features that are disabled for guests like commenting on the forums and downloading skins.
  • Access to a great community, with a massive database of many, many areas of interest.
  • Access to contests & subscription offers like exclusive emails.
  • It's simple, and FREE!


web-wc01