


Learning DX Step-By-Step - #2
Tutorial #1 - Folder Object
Thursday, February 22, 2007 by RomanDA | Discussion: DesktopX Tutorials

 |
||
| Step-by-Step Tutorials |
#2 - Folder Object |
|
|
A series by RomanDA |
||
|
Listing of other DX Tutorials: Click here Today's Lesson: "Folder Object" In this lesson we will cover how to create a simple object that you can use to open a folder. (We will be using this in the next one to create a Program and a URL Shortcut. To use this tutorial you will need these 2 PNG files - click HERE to download - (yes, they are lame, but i wanted something simple to use). For this and all the Step-By-Step DX Tutorials you will need to purchase DesktopX for $14.95 from Stardock. Lets get started. |
||
| STEP 1 - Load DesktopX | ||
|
Once you have DesktopX
installed, look in your Start Menu for "Object Desktop" then for "DesktopX",
click it to load the program.
You will see the DesktopX
STARTUP Screen
(yours wont say PROFESSIONAL unless you purchased PRO)
It will load the DesktopX
SETTINGS Window:
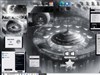
We just wish to get these screens out of the way for now, we are not going to use them. Click "CANCEL" on the SETTINGS window, and DONE on the STARTUP Screen. You should have a blank
screen now with a new icon in your system tray:
|
||
| STEP 2 - Create an object | ||
|
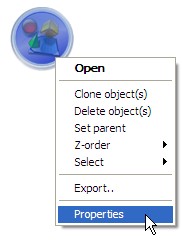
RIGHT CLICK on the
|
||
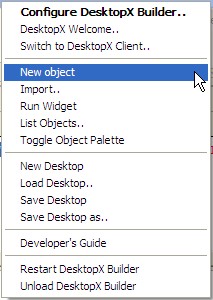 |
You will need to select the "NEW OBJECT" item on this menu. | |
|
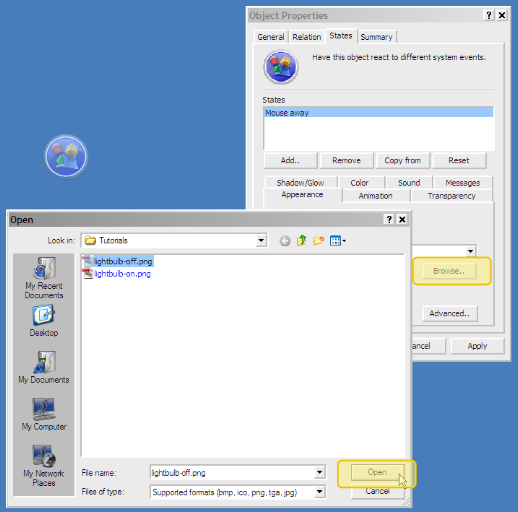
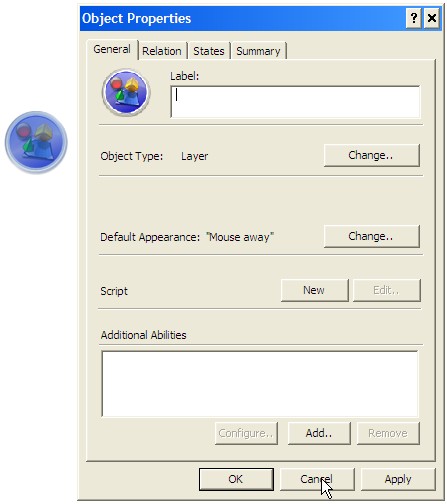
You will see the OBJECT
PROPERTIES window below (as well as the object itself).
This window will be referenced over and over in these tutorials.
IE: Open Properties / Select States
(which would mean to select the States TAB in the
Properties window)
You can access this
properties window at any time by RIGHT-CLICKING on the object and
selecting PROPERTIES.
|
||
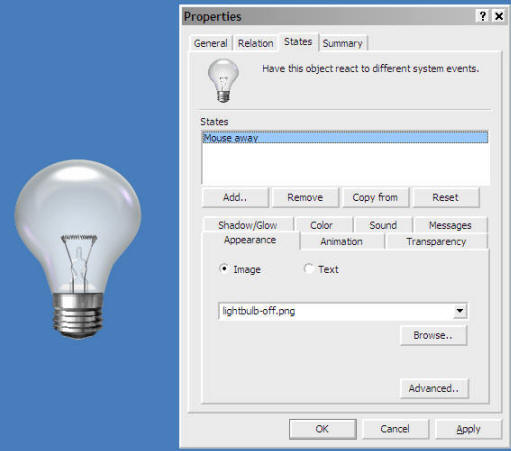
| STEP 3 - Adding Images into the Object | ||
When you added the object,
it brought up the PROPERTIES window, now select the "STATES" tab to
change to this TAB.
|
||
| STEP 4 - Making your Lightbulb DO something. | ||
|
||
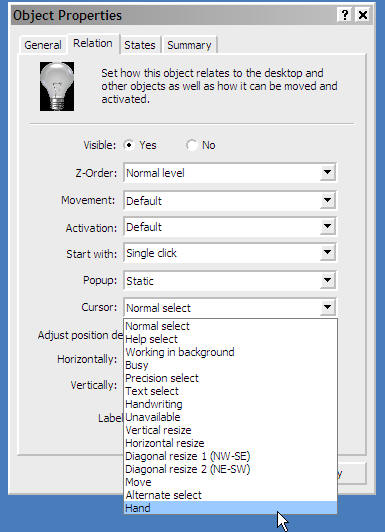
| STEP 5 - Changing the CURSOR on the Lightbulb | ||
|
||
| CONCLUSION | ||
|
This is a pretty simple
Tutorial, I was going to continue this and make several clones of the
lightbulb for a program and a url, but I want to split that into the
next Tutorial. I will post that at the same time I post this, so
you can continue with
Tutorial #3 - Attack of the Clones Check back as I add new Step-By-Step Tutorials on how to make this a link to a folder, web-site, or just about anything you want! I hope you have enjoyed this step into DX, and look forward to the next installment.
|
||
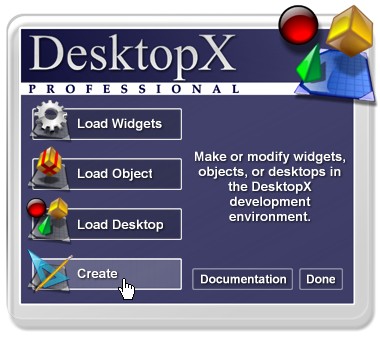 One you see this screen,
click on "CREATE" because we want to CREATE a new Widget.
One you see this screen,
click on "CREATE" because we want to CREATE a new Widget.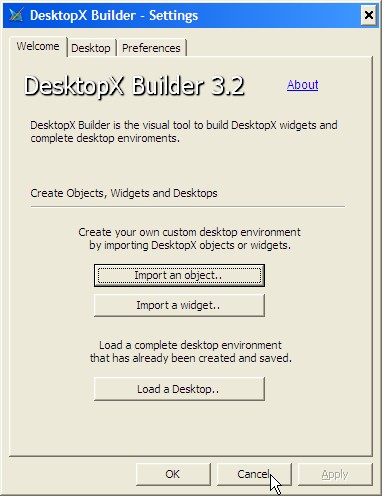
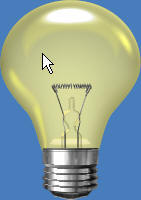
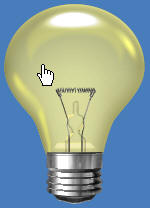 - Notice the HAND Cursor

Reply #5 Monday, March 12, 2007 7:47 PM
Off to the next one!
Reply #6 Monday, March 12, 2007 8:24 PM
Off to the next one!
ok, 5 mins to DO.. 1-2hrs to MAKE.. LOL
Im glad you are getting something out of them..
there may be more, who knows.. have to see what the cards hold.

Please login to comment and/or vote for this skin.
Welcome Guest! Please take the time to register with us.
There are many great features available to you once you register, including:
- Richer content, access to many features that are disabled for guests like commenting on the forums and downloading skins.
- Access to a great community, with a massive database of many, many areas of interest.
- Access to contests & subscription offers like exclusive emails.
- It's simple, and FREE!
Reply #1 Thursday, February 22, 2007 8:34 AM